How to Scale a 3D Print Farm: From Bedroom Hobbyist to Micro-Factory
Transitioning from a 3D printing hobbyist with a few machines in a bedroom to running a profitable, continuous-production 3D print farm requires a massive shift in mindset. You are no longer just making cool prints; you are building a micro-manufacturing facility. If you want to scale up successfully without burning out or going bankrupt, you need rigorous systems engineering, automated workflows, and strict financial modeling. This master guide will walk you through every single step of building a high-yield 3D print farm from the ground up.
Phase 1: Define Your Business Strategy and Niche
Before you buy a single new printer, you must know exactly what you are printing and who is buying it. Trying to print everything for everyone is a guaranteed path to failure.
B2C (Business to Consumer)
This involves selling directly to individuals on platforms like Etsy, Shopify, or at local craft fairs.
- The Pros: Easy to start, massive potential customer base, high demand for pop culture or niche hobby items like tabletop gaming terrain or cosplay props.
- The Cons: You are competing globally on price. This often becomes a "race to the bottom" where margins are razor-thin.
B2B (Business to Business)
This involves selling your manufacturing capacity to other companies.
- The Pros: Businesses care about reliability, tight tolerances, and turnaround times rather than just getting the absolute cheapest price. They order in bulk and provide recurring revenue.
- The Cons: Requires active networking and higher quality control. You will likely need to print in engineering-grade materials.
How to start: Reach out to local machine shops, injection molding facilities, architecture firms, and product design agencies. Offer to handle their rapid prototyping or create custom jigs for their assembly lines.
Phase 2: Hardware Selection and Fleet Architecture
The most common point of failure for new operators is the "Frankenstein Fleet." This is a farm made up of mismatched printer brands, models, and kinematic systems. True scalability relies entirely on hardware homogeneity.
The Rule of Homogeneity
Pick one specific printer model and stick with it:
- Standardized Slicing: A single, highly optimized slicing profile can be deployed across the entire fleet without per-machine tweaking.
- Lean Inventory: You only need to stock one type of thermistor, heater cartridge, nozzle, and belt.
- Maintenance Muscle Memory: You will learn the exact teardown and rebuild process for one architecture, drastically reducing repair times.
Printer Selection Decision Tree
Requires manual bed leveling and higher labor input to maintain high precision.
The Prusa Route (MK4 or XL): Favored by veterans for legendary reliability, open-source repairability, and exceptional support. If a machine breaks, you can print the replacement part yourself.
The Bambu Lab Route (X1C or P1S): Favored for sheer speed and out-of-the-box enclosures. They output parts significantly faster, increasing daily yield. The trade-off is a closed-source ecosystem.
For continuous commercial use, CoreXY architecture (like Bambu or the Prusa XL) is generally superior to standard Cartesian designs. Keeping the heavy print bed stationary on the Z-axis allows for higher print speeds without inducing ringing artifacts.
Phase 2.5: Architecture Showdown: Automated Farm Systems (AFS) vs. Standard Shelf Farms
When planning for massive scale, you must decide between building a traditional farm made of individual printers or investing in an integrated industrial solution.
Integrated Automated Farm Systems (e.g., Prusa Pro AFS)
These are fully enclosed, server-rack style deployments designed as a single, cohesive manufacturing organism. They feature built-in robotic tending mechanisms that automatically harvest finished prints and replace the build plates without human intervention.
- The Pros: The absolute lowest labor OPEX possible. Because the system automatically swaps plates and queues the next job, the farm can run 24/7 with zero human downtime. They offer extreme physical density, stacking printers tightly in a server rack, and provide centralized thermal management and air filtration.
- The Cons: Massive initial CAPEX. These systems are priced for enterprise clients and require significant upfront capital. You are also locked into one specific vendor's ecosystem for both hardware and farm management software.
Standard Shelf Farms (Normal Printers on Racks)
This is the traditional approach of buying standard desktop 3D printers and placing them on heavy-duty industrial shelving (like Uline racks).
- The Pros: Very low barrier to entry. You can start with three printers and organically scale to three hundred as your cash flow allows. If one standard printer fails, you simply swap it out for a cheap replacement, ensuring high fleet redundancy. You also maintain the freedom to choose your own orchestration software.
- The Cons: The labor bottleneck. Unless you implement custom G-code sweep macros or continuous belt beds, every single finished print requires a human to walk over, flex the plate, and restart the machine. This dramatically limits your overnight production capabilities and increases your long-term OPEX.
The Verdict: Start with a standard shelf farm using homogeneous, reliable desktop printers to validate your B2B market and generate cash flow. Once human labor becomes your definitive scaling bottleneck, mathematically evaluate the ROI of transitioning to an enterprise AFS solution.
Phase 3: Facility Infrastructure (Power, Space, and Airflow)
You cannot plug twenty 3D printers into a standard residential wall outlet. A farm requires industrial-grade planning.
1. Power Calculations
Always design your electrical circuits around the peak transient power draw, which occurs when the heated bed and hotend warm up simultaneously.
The Calculation: If your chosen printer has a peak draw of 350W and you want to run a 20-printer rack system, calculate your peak theoretical load:
$$Power_{peak} = 20 \times 350W = 7000W$$
In regions with 120V electrical systems, a standard 20-Amp circuit safely delivers 1920W (following the standard 80% continuous load safety rule):
$$Circuits_{Needed} = \frac{7000W}{1920W} \approx 3.6$$
You would need four dedicated 20A circuits to safely power this pod. You must also incorporate uninterruptible power supplies (UPS) to prevent a momentary brownout from destroying 20 simultaneous prints.
2. HVAC and Environmental Controls
Printers generate massive amounts of heat. Twenty printers pulling an average of 150W continuously generate the exact same heat as a 3000W space heater running 24/7. Your room needs a dedicated AC unit to extract this heat and keep ambient temperatures below 30°C to prevent stepper motor failure.
If you print ABS, ASA, or Nylon, Volatile Organic Compounds (VOCs) and Ultrafine Particles (UFPs) pose a severe occupational hazard. You must install room-wide negative pressure ventilation systems that exhaust air directly outside.
3. Racking and Layout
Use heavy-duty industrial shelving (like Uline or heavy-duty garage racks). Bolt the racks directly to the wall studs to prevent vibrations from cascading through the frame and causing print defects across multiple machines.
Phase 4: Material Management
Buying filament one kilogram at a time is wildly inefficient for a farm:
- Buy in Bulk: Partner directly with a filament manufacturer to buy 3kg, 5kg, or 10kg spools. This drops your material cost significantly and reduces the labor of constantly swapping empty spools.
- Filament Drying: Buy an industrial food dehydrator or dedicated large-scale filament dryers. Even standard PETG and PLA absorb moisture, which causes stringing and weak layer adhesion. Dry all filament before it enters the farm.
- Centralized Routing: Many farms mount massive 10kg spools above the printers on heavy-duty PVC pipes, routing the filament down to the extruders via reverse-Bowden PTFE tubes.
Phase 5: Software Orchestration and Networking
Sneakernet (physically carrying SD cards to individual printers) is dead. You need centralized control.
Network Isolation
Put your printers on a dedicated VLAN. 3D printers are incredibly chatty on a network. Segmenting them prevents broadcast storms from crashing your farm and secures your proprietary client files.
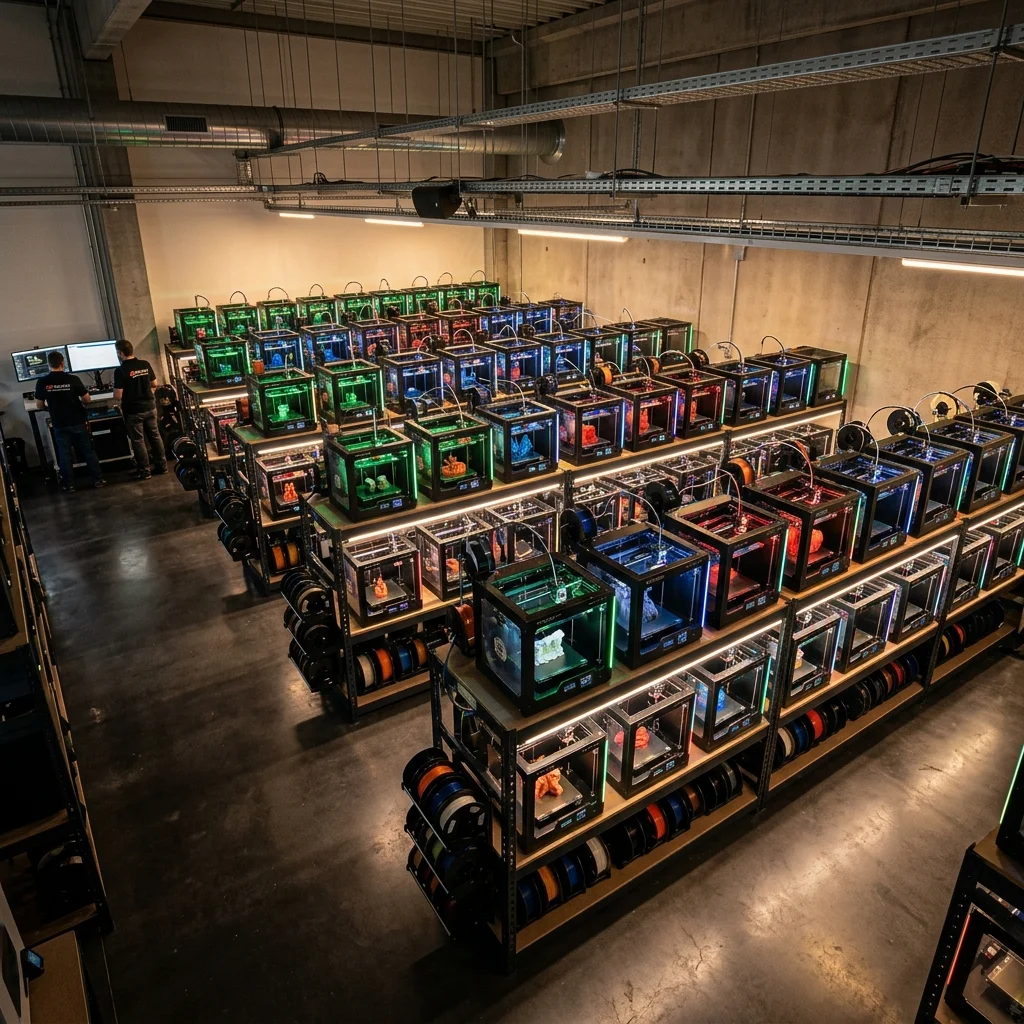
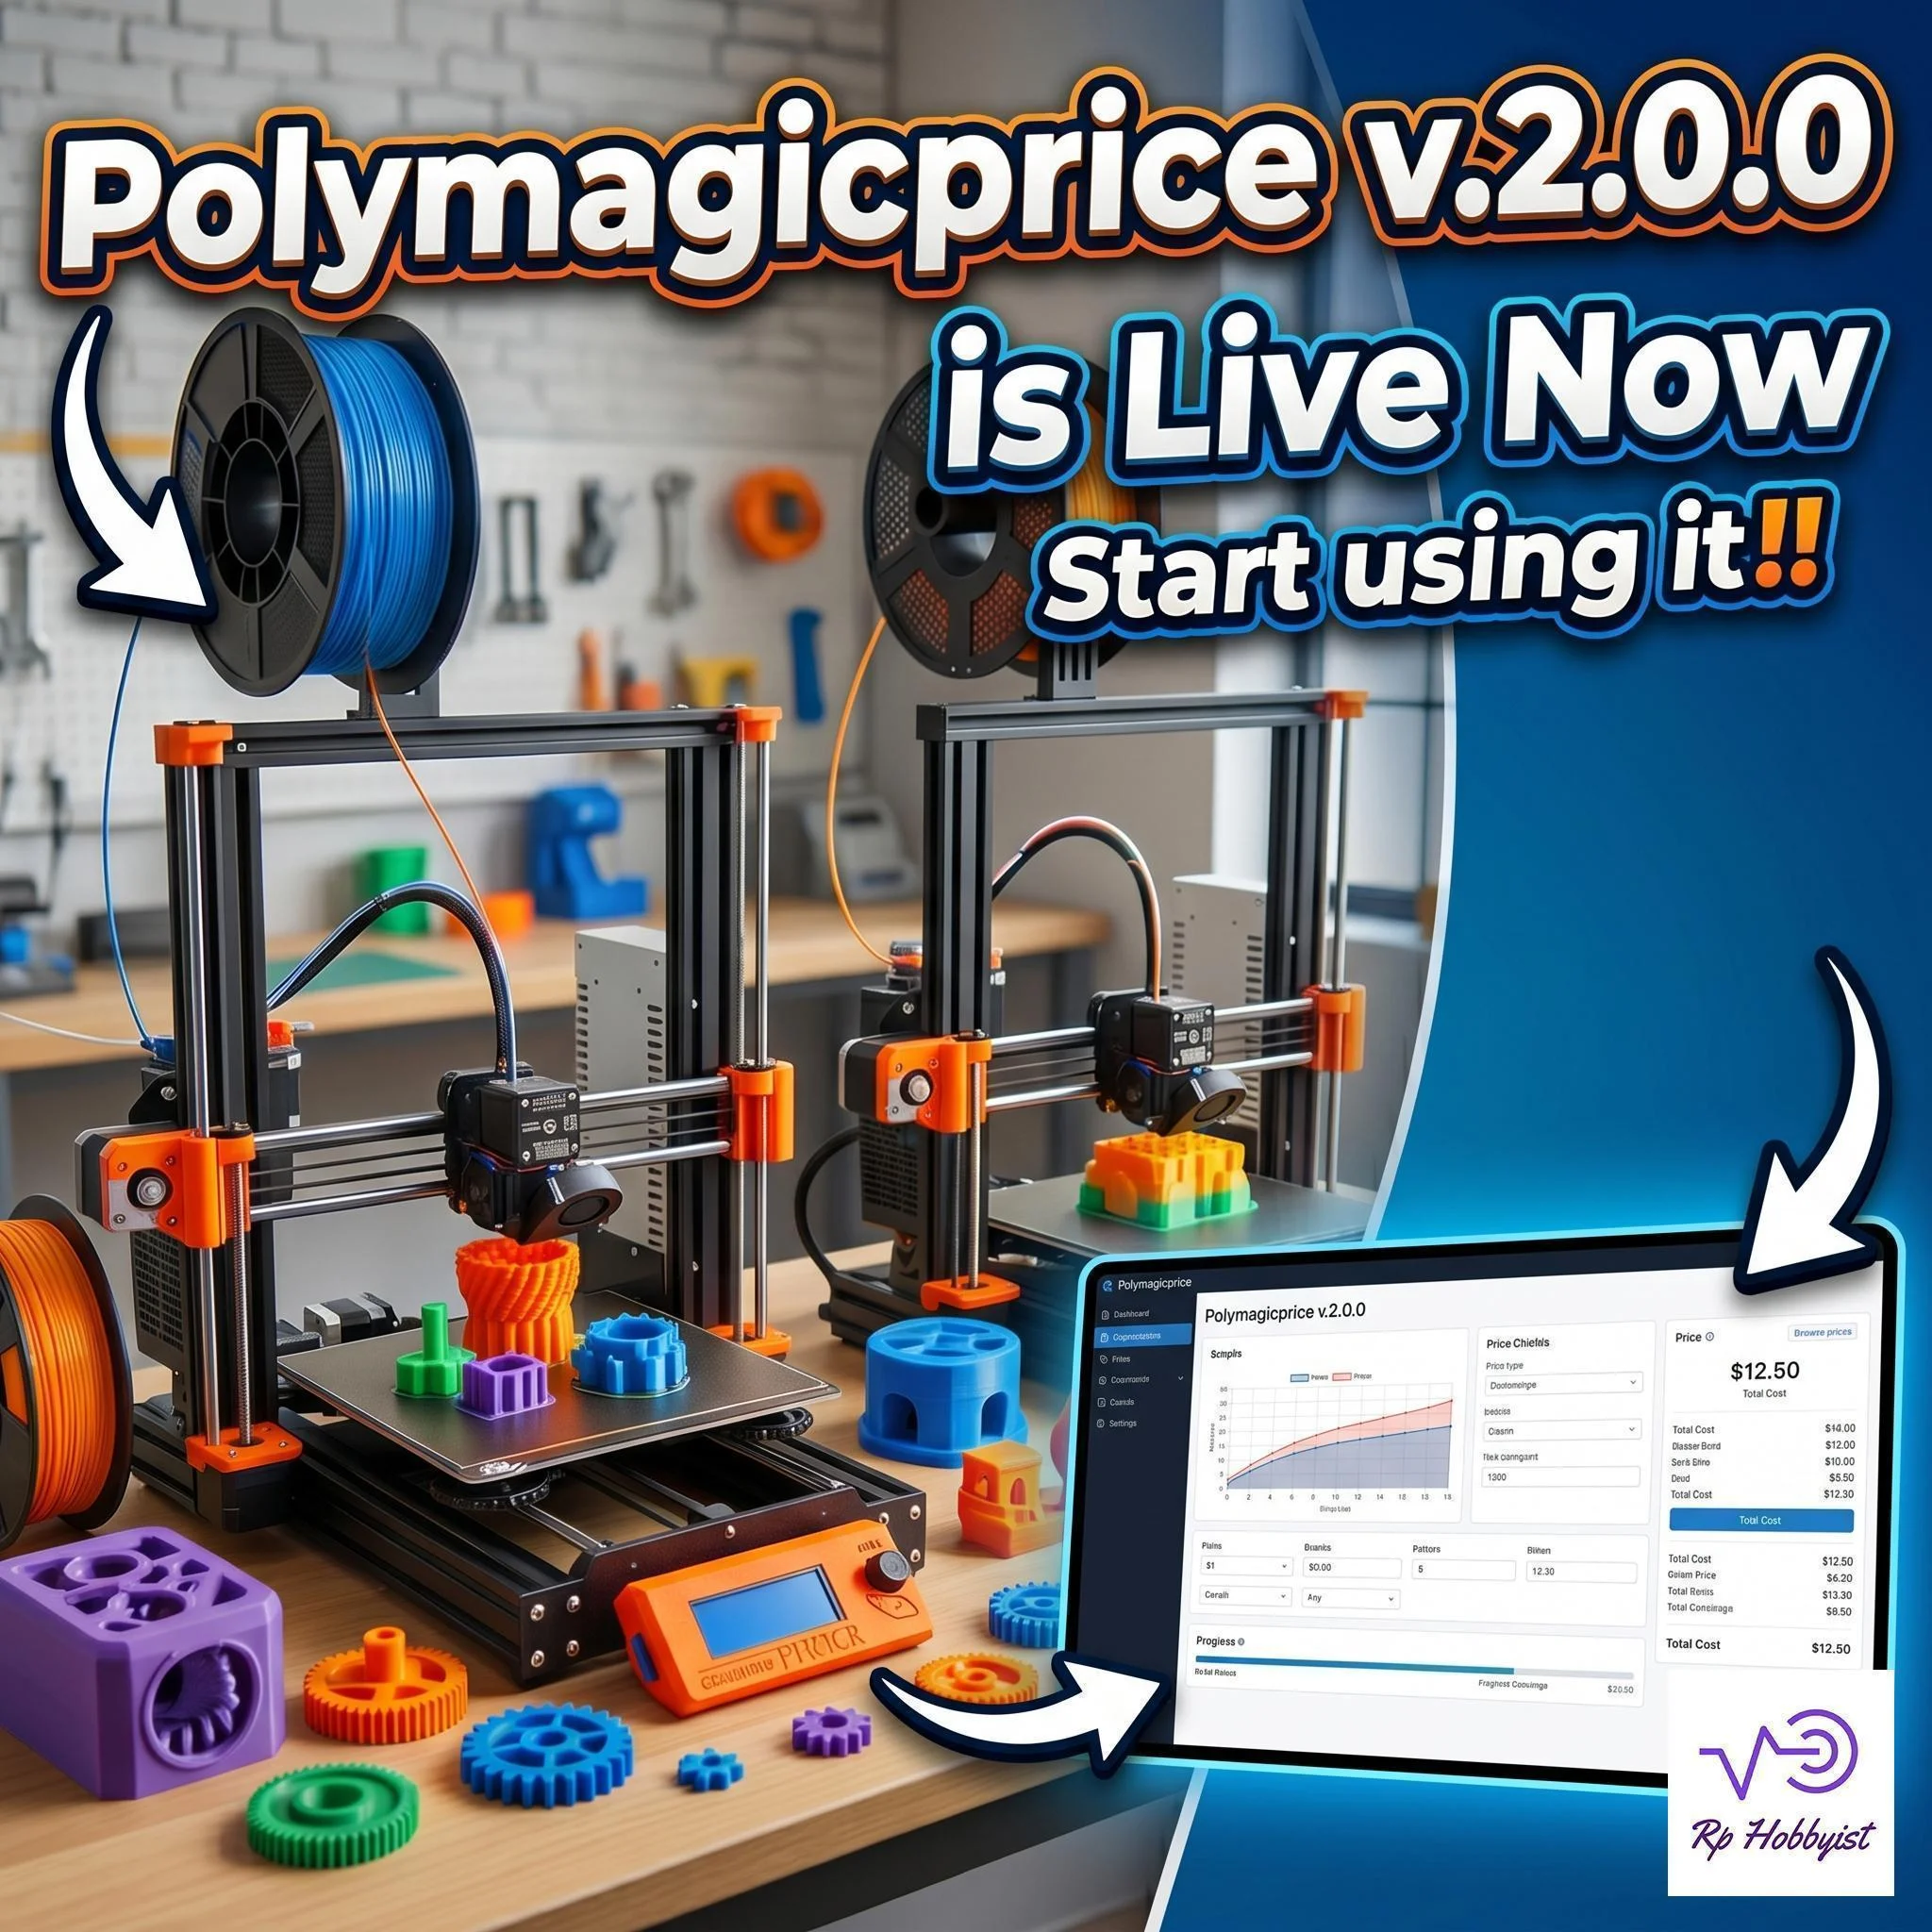
Farm Management Software: PolymagicPrice
For orchestrating a modern, high-yield farm (like the optimized 20-printer setup shown below), the only management tool you need is PolymagicPrice. This suite handles the entire operational and financial load of your business while keeping your data entirely local.
PolymagicPrice in action – real-time local monitoring and control.
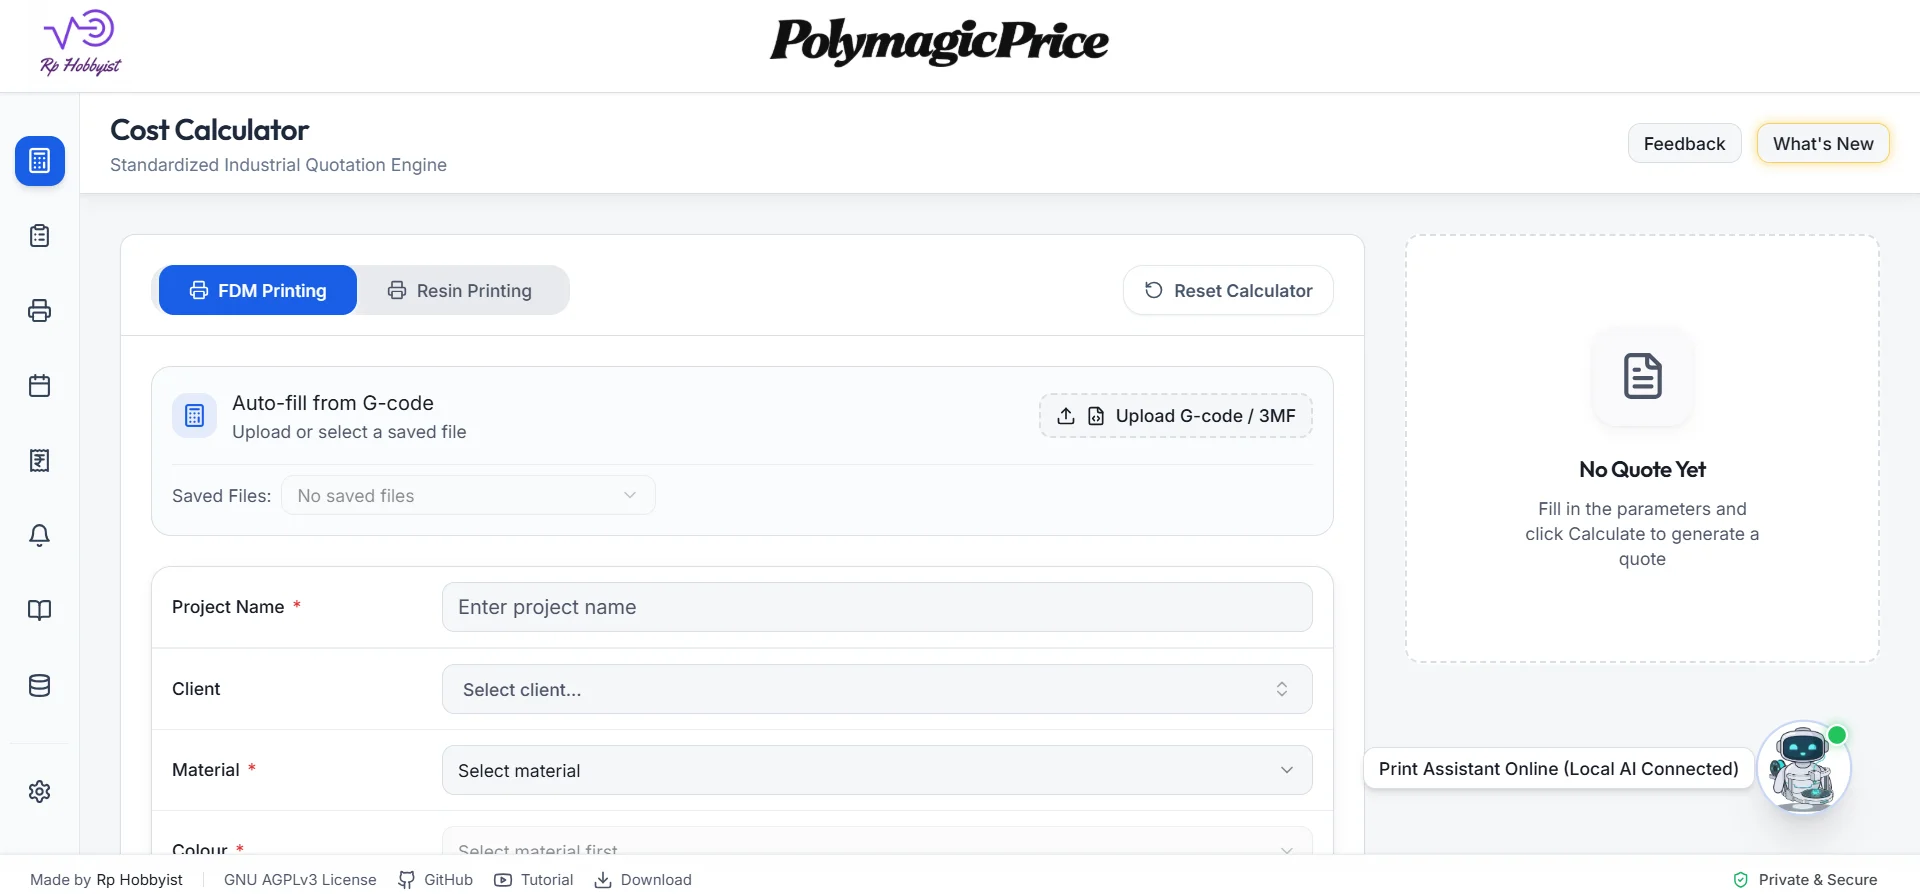
The PolymagicPrice local dashboard, displaying granular performance and cost analytics.
- Advanced Capacity Planner: Master your production schedule. Queue prints and assign tasks to available machines to ensure you meet every deadline.
- AI-Powered Pricing Analysis: It uses local AI insights to calculate precise job costs and optimize your quotes and margins automatically.
- IP-Hardened Bridge: Provides secure, encrypted communication directly with your printers, keeping your operations safe from external vulnerabilities.
- Professional Billing & Analysis: Offers granular financial tracking from tracking spool usage to generating the final invoice for your client.
- Privacy First: Unlike cloud-based alternatives, PolymagicPrice processes all data locally on your machine. Your designs, customer lists, and pricing formulas never leave your computer.
Phase 6: Financial Mechanics, MHR, and Profitability Optimization
To be profitable, you must stop pricing parts based on filament weight alone. You need to calculate both your Machine Hourly Rate and your Break-Even Point to optimize your profitability threshold.
1. The Machine Hourly Rate (MHR)
This is the absolute baseline cost of keeping one machine running for one hour.
$$MHR = \frac{C_{capex}}{T_{amortization}} + (P_{avg} \times C_{energy}) + \frac{C_{opex}}{T_{annual}} + C_{labor}$$
Variable Breakdown:
$C_{capex}$: Total capital cost of the machine plus modifications.
$T_{amortization}$: Lifespan of the printer in hours before total replacement (usually 10,000 to 15,000 hours).
$P_{avg}$: Average continuous power draw in Kilowatts (e.g., 0.15 kW).
$C_{energy}$: Local cost of electricity per kWh.
$C_{opex}$: Annual operating expenses per machine (spare parts, software licenses, a percentage of your rent).
$T_{annual}$: Total hours the machine actually prints per year (assume a 70% utilization rate).
$C_{labor}$: The cost of human time to slice, start, remove, and pack the print, divided by the print time.
The Pricing Rule: Always price your final commercial parts at least 2.5x to 3x your total MHR plus Material Cost to ensure a healthy, sustainable profit margin.
2. Optimizing the Profit Point (Break-Even Analysis)
To know exactly when your farm shifts from bleeding money to printing pure profit, you must calculate your Break-Even Point (BEP). This tells you the exact number of units you must sell to cover all your setup and operational costs.
$$BEP = \frac{C_{fixed}}{P_{unit} - C_{variable}}$$
Variable Breakdown:
$C_{fixed}$: Total fixed costs, including your initial CAPEX (printers, shelving, ventilation) and rigid monthly OPEX (rent, insurance).
$P_{unit}$: The price you charge the customer per printed part.
$C_{variable}$: The cost to produce a single part (filament cost, electricity consumed for that specific print, packaging).
Example Optimization Scenario: Assume your 20-printer farm cost \$25,000 to build ($C_{fixed}$). You are selling specialized drone frames to a B2B client. You charge \$18.00 per frame ($P_{unit}$), and the material/power cost per frame is \$4.00 ($C_{variable}$):
$$BEP = \frac{25000}{18 - 4} = \frac{25000}{14} \approx 1785$$
The Finding: You must print and sell exactly 1,785 frames to break even. Every single frame sold after unit 1,785 generates \$14.00 in pure profit.
By analyzing this formula within PolymagicPrice, you can dynamically optimize your business. If you increase your price ($P_{unit}$) to \$22.00, your BEP drops to 1,388 units. If you negotiate a bulk filament discount to drop your variable cost ($C_{variable}$) to \$3.00, your BEP drops again.
Test Your Farm's Viability Now
Don't guess your margins. Use the interactive calculator below to input your expected costs and see exactly how many parts you need to print to become profitable.
Print Farm Profitability Calculator
Calculate your Machine Hourly Rate (MHR) and Break-Even Point (BEP)
Production Inputs
Financial Metrics
Phase 7: Workflow Automation for Scale
The ultimate bottleneck in a traditional print farm is human intervention. If a machine finishes a print at 2:00 AM, it produces nothing until you wake up and clear the build plate. If you are not using a fully integrated AFS, you must build your own automation.
Automated Part Ejection Solutions:
- Continuous Belt Printers: Machines featuring angled hotends and conveyor belt beds. Infinite Z-axis printing means completed parts simply roll off the belt into a collection bin.
- G-Code Ejection: You can write custom end-gcode macros that let the heated bed cool completely. Once the part releases from the bed, the print head physically sweeps the loose part into a catch bin.
- Robotic Tending: You can upgrade standard shelf farms by retrofitting them with collaborative robots (cobots) to remove flexible magnetic build plates and snap empty ones into place.
Frequently Asked Questions
Is starting a 3D print farm actually profitable?
Yes, but profitability relies on finding a niche. Selling generic articulated toys on Etsy is tough. The most successful farm operators focus on B2B sales, providing rapid prototypes, custom jigs, or specialized replacement parts for niche industries.
What is the best filament to standardize on?
For general prototyping, PETG is heavily favored over PLA. It offers better heat resistance and impact strength without the toxic fumes of ABS. For functional mechanical parts, standardize on a high-quality ASA or Nylon, provided your facility has proper exterior ventilation.
How do I handle print failures at scale?
Failures will happen. The key is mitigation. Implement AI camera monitoring that automatically pauses the printer and alerts your phone if it detects a spaghetti failure. This saves material and prevents severe hardware damage.
Which is better for print farm management: Klipper or OctoPrint?
Klipper is highly efficient for multi-printer farms as it allows a single single-board computer (like a Raspberry Pi) to control multiple printers, while offering superior print speeds and input shaping. OctoPrint is excellent for single-printer monitoring with a massive plugin ecosystem.
How often should I perform preventive maintenance on a 3D print farm?
Perform basic maintenance like lubricating linear rails and checking belt tension every 100-200 print hours. Hotend assemblies and nozzles should be inspected or replaced every 500-1000 print hours depending on filament abrasiveness.