PC Case to CNC Controller: The Ultimate 3D Printer Station Makeover
Let’s face it: most 3D printers, while marvels of engineering, look like... well, industrial tools. Exposed wires, bare metal extrusions, and clunky power supply boxes don’t exactly scream "modern aesthetic."
I decided that if my Creality Ender 3 was going to print the future, it should look like it belongs there. So in a fusion of upcycling and engineering, I stripped my printer of its electronics and transplanted them into an old computer tower, creating a "CPU" for my 3D printer that rivals the look of a high-end gaming PC.
Here is the deep dive into how this stunning mod came to life - and why you might want to do it too.
The Concept: Where Form Meets Function
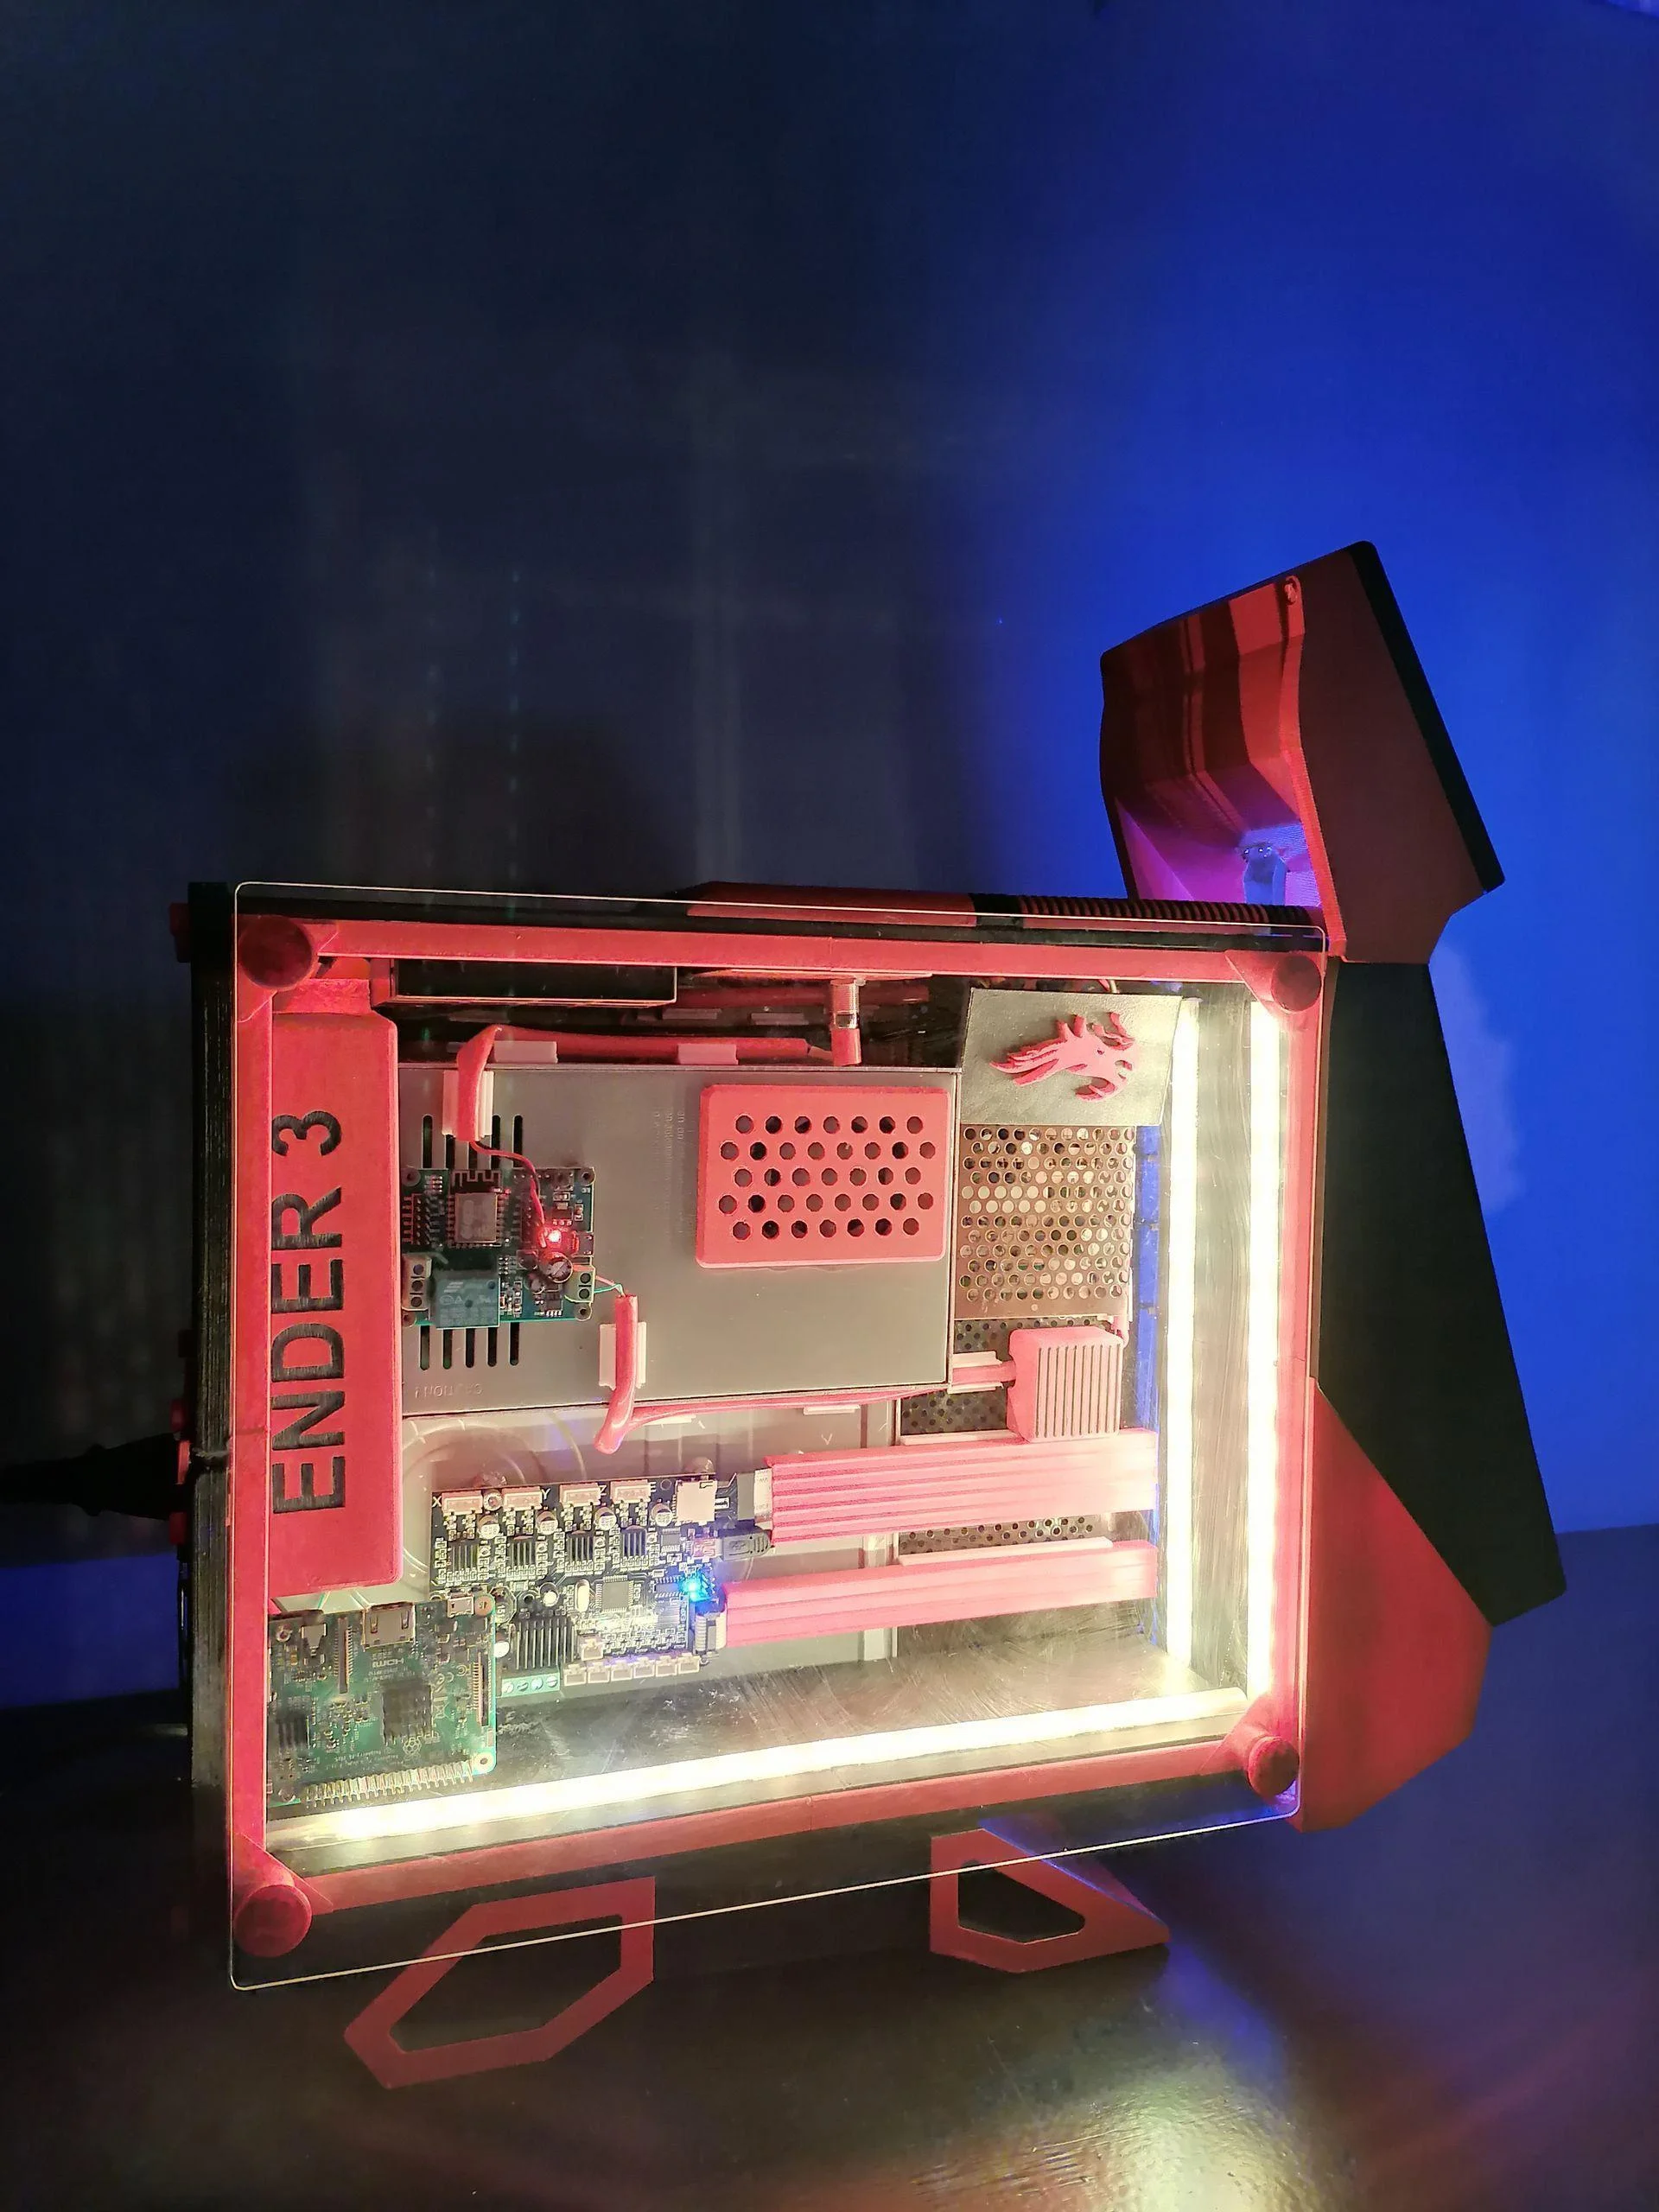
My core idea was simple but ambitious: remove the "messy" parts of the 3D printer - the power supply, the mainboard, the LCD screen - and house them inside a sleek, custom-modded PC case.
But this wasn’t just a cosmetic upgrade. By moving the brain of the printer into a separate chassis, I opened up space for massive functional upgrades, including OctoPrint integration via a Raspberry Pi, remote WiFi power switching, and, of course, app-controlled RGB lighting.
"All 3D Printer owners are bored of their 3D Printer... We all want our printer to have a modern design."
The Build Breakdown
Phase 1: The Design & Print
Before a single screw was turned, the project began digitally. Using Fusion360, I designed over 38 unique parts to adapt the old PC case for its new life. This included custom mounts for the electronics and a completely new front panel to house the printer’s LCD screen.
- Time needed: Approx. 1 week of design, 3-4 days of printing.
- Material: PLA (Black, Orange, and Grey for that industrial-chic look).
Phase 2: The Tear-Down
The donor chassis was an old, dusty CPU case. I stripped it to the bone - cleaned, gutted, and prepped. Meanwhile, I relieved the Ender 3 of its electronics. The power supply and mainboard were removed, but not discarded; they were destined for a new home.
Phase 3: The Transplant
This is where the magic (and the math) happened.
- Mounting: I marked and drilled custom holes into the PC case. Brass standoffs (motherboard risers) were soldered or screwed in to hold the printer’s mainboard securely.
- Power: The stock power supply was mounted inside, along with a secondary 5V buck converter to power the "smart" brains of the operation.

Phase 4: The Nervous System (Wiring)
A separate case means longer wires. I had to extend cables for the steppers, limit switches, and hot end.
- Pro Tip: I ran the wires through 7mm flexible PVC piping, giving the umbilical cord connecting the "CPU" to the printer a professional, industrial robot look.
- Crimping: Every connection was re-crimped for safety and reliability - no loose electrical tape here.
Feature Spotlight: The "Smart" Upgrades
This mod didn't just look good; it made my printer smarter.
1. The OctoPi Brain
I mounted a Raspberry Pi 3 Model B inside the case, running OctoPrint. This allows me to control the printer wirelessly, monitor prints via webcam, and slice files without touching an SD card.
2. Remote Detonation (Okay, just Power)
I wired a WiFi Relay Module into the main power line. This allows me to turn the printer on or off completely via a smartphone app - perfect for killing the power after a long print finishes while I'm asleep.
3. The "Gamer" Glow
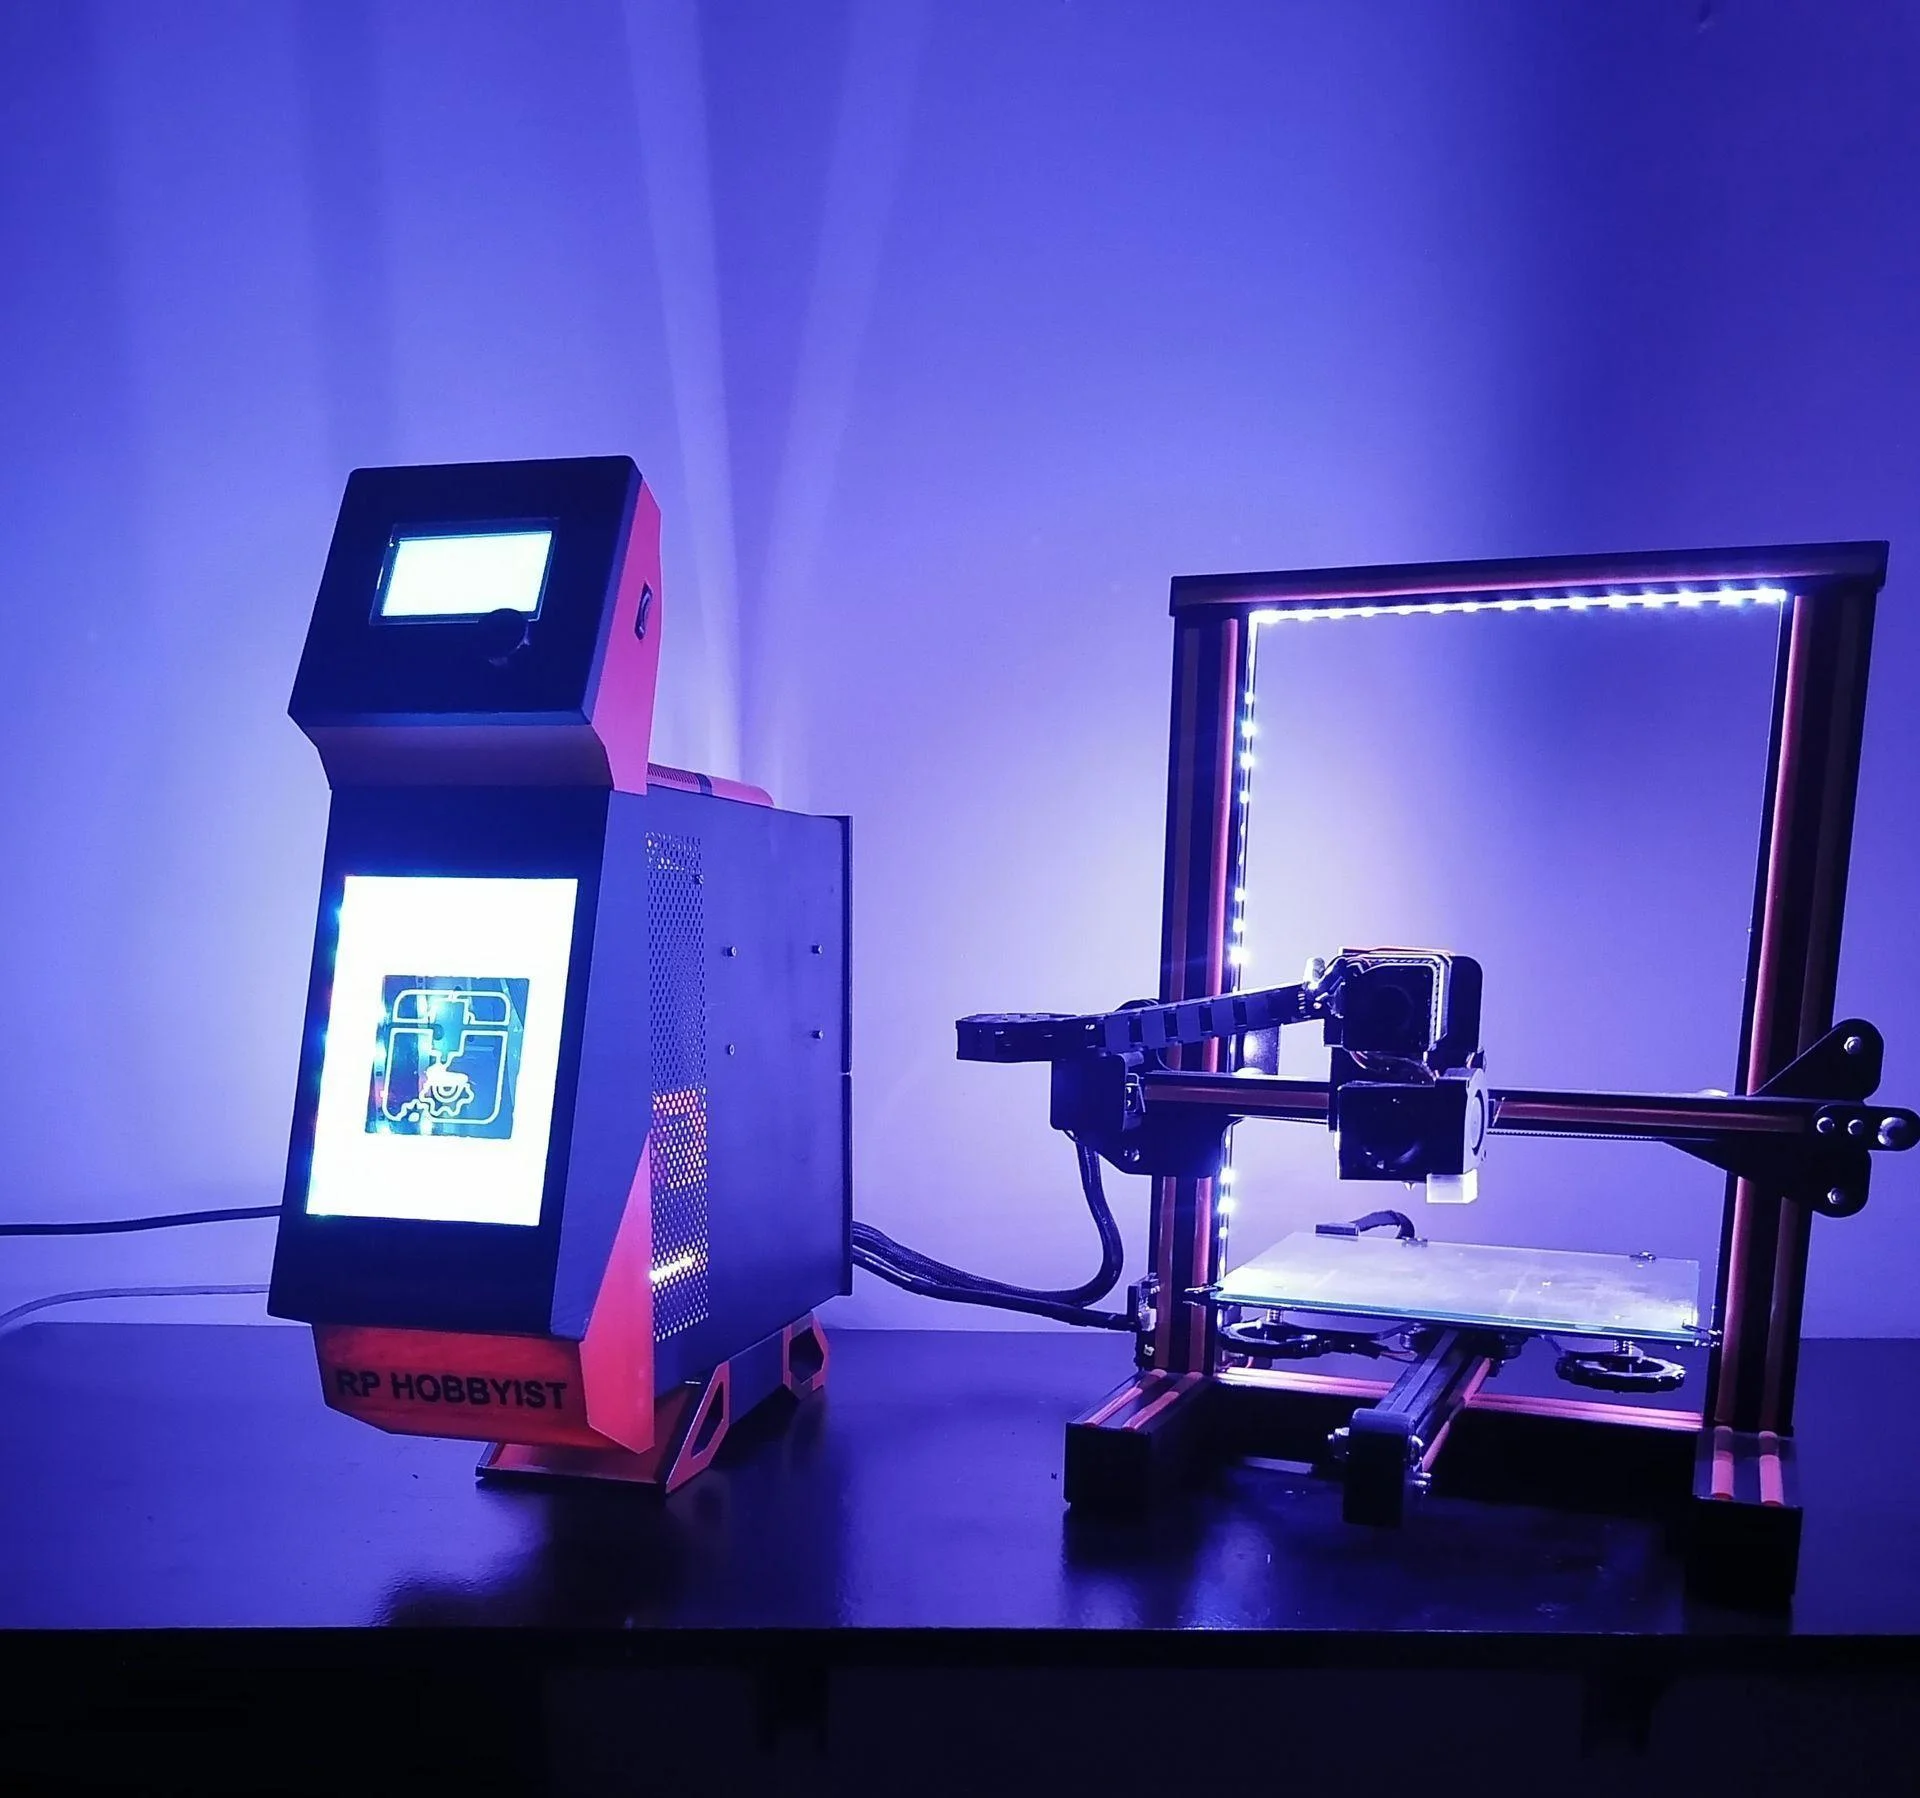
It wouldn't be a PC mod without RGB. I installed an LED strip behind a custom-engraved acrylic panel. Using a mirror film and a CNC-engraved printer logo, the front panel creates a stunning "infinity mirror" effect, controllable via Bluetooth.
The Verdict
The final result is a clean, "split-system" setup. The printer frame sits light and unencumbered on my desk, while the heavy electronics are safely enclosed in a dust-free, actively cooled, and aesthetically pleasing tower next to it.
It transforms the 3D printing experience from a workshop chore into a command center operation.
Want to build your own?
You will need an old PC case, a soldering iron, a lot of PLA, and the patience to extend about two dozen wires. But looking at the final "battlestation" glow of this setup, I’d say it’s absolutely worth it.
For the full step-by-step instructions, STL files, and circuit diagrams, check out my full guide on Instructables.
Frequently Asked Questions
Why use an old PC case for a 3D printer control station?
ATX PC cases provide excellent integrated airflow, standardized ATX mounting standoffs for electronics, and grounded metal enclosures. They are safer and better cooled than custom 3D printed electronic boxes.
What is Klipper and why did you upgrade to it?
Klipper offloads the heavy G-code calculation from the printer's weak 8-bit motherboard to an external Linux machine (like a Raspberry Pi or thin client), enabling significantly faster print speeds and advanced features like Input Shaping.
How do you manage cable routing in a DIY 3D printer controller?
I use aviation connectors (like GX16s) mounted to the PC case's PCI slot covers. This creates a modular, professional quick-disconnect system between the brain box and the physical printer chassis.
Do I need a fan inside a DIY CNC control box?
Yes, active cooling is crucial. Stepper motor drivers and power supplies generate significant heat. A 120mm fan pulling fresh air across the stepper driver heatsinks prevents thermal throttling and driver failures.
Why is star grounding important in a CNC control station?
Star grounding eliminates ground loops, which introduce electromagnetic interference (EMI). By running all ground wires to a single central point, you prevent signal corruption on limit switches and sensor wires.