Professional electrical-panel Design: From Sketch to Industrial Cabinet
The Heart of the Build
When I first opened the stock control box on my 3018 CNC, I was horrified. It was a 'rat's nest' of wires, zero thermal management, and connectors that looked like they'd vibrate loose if I breathed on them. When I decided to build the CNC Control Box Upgrade, I knew I had to stop 'tinkering' and start designing. Whether you're building a home automation hub or a machine controller, the electrical panel is the heart of your project.
Phase 1: The Design Process (Workshop Edition)
Step 1: Planning for the 'Chaos'
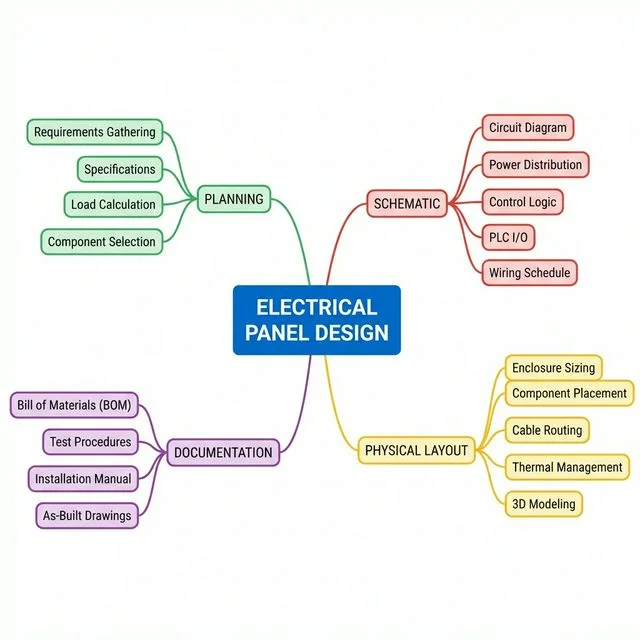
Before you touch a screwdriver, you need a plan. When I built my panel, I had to define exactly what it was doing: controlling a 24V spindle, a 12V laser, and cooling fans. Drawing a 'Mission Profile' prevents the dreaded 'I forgot a component' mid-build.
- The 20% Spare Rule: I always leave at least 20% empty space. Why? Because three months later, you'll want to add an E-stop or a status display, and you'll thank yourself for the room.
- Compliance is your friend: Even for a hobby build, looking at standards like UL 508A helps you avoid common safety mistakes.
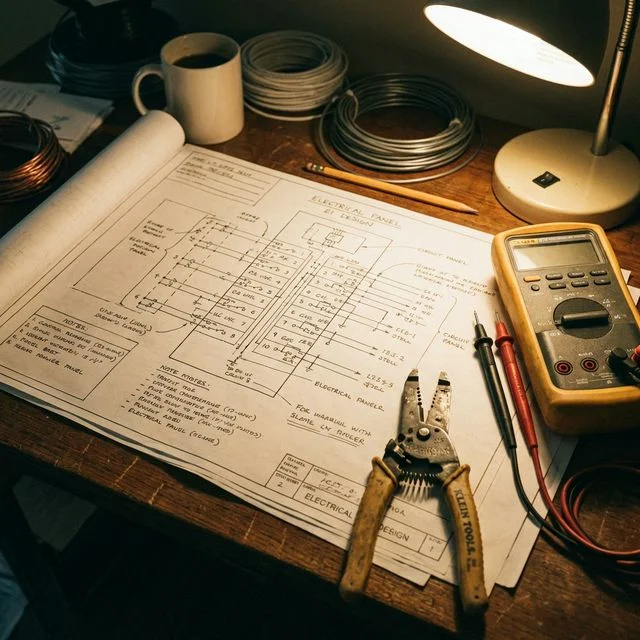
Step 2: The Logic (Schematic)
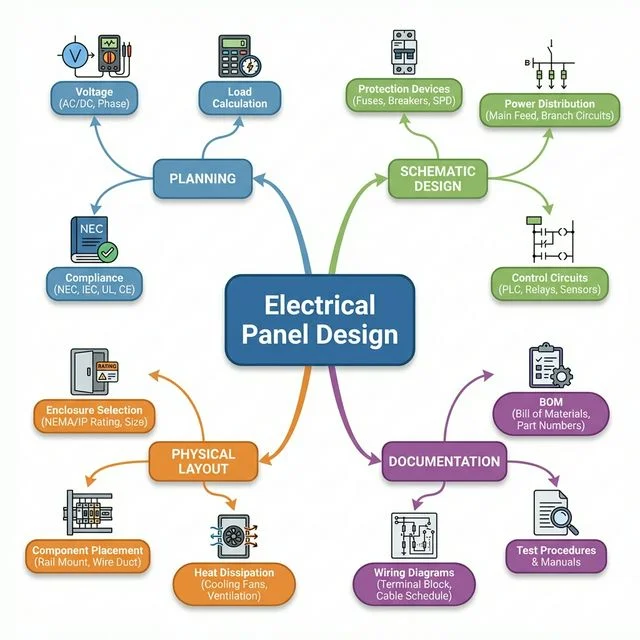
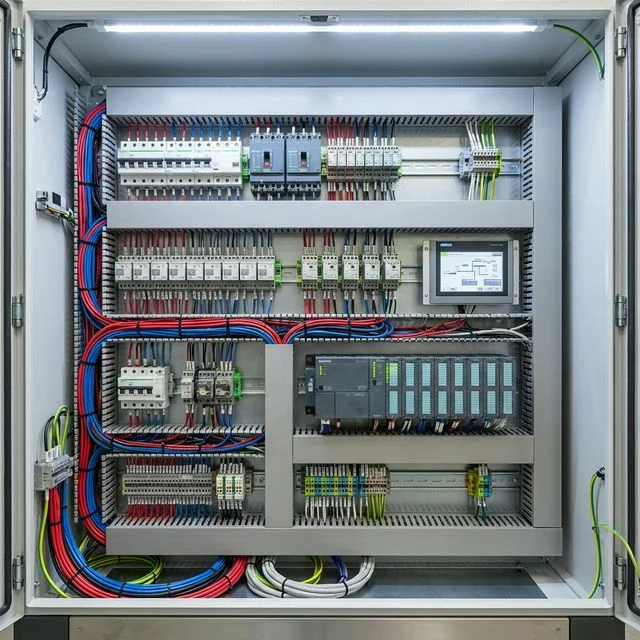
The schematic is your map. In my cnc-upgrade, the Control Circuit (the brain) stays separate from the Power Circuit (the muscle). This prevents high-voltage noise from crashing your controller mid-print.
Step 3: The Build (Layout)
This is where it gets real. I treat panel layout like a puzzle.
- Heat Management: I mounted my cooling fan directly over the stepper drivers. Transformers and VFDs go at the top—heat rises, don't cook your sensitive logic boards!
- Wire Ducts (Panduit): Use them. They hide the mess and make troubleshooting a breeze. If your panel looks like a plate of spaghetti, you'll never find that loose ground wire.
Phase 2: Use the Right Tools
Don't just 'wing it' with a Sharpie. Use tools that help you visualize the finished build.
- For Makers: I use Autodesk Fusion 360. It bridges the gap between the 3D enclosure and the electronics. If I can see the clearance in 3D, I know it'll fit on the bench.
- For Quick Logic: **draw.io** is great for simple wiring diagrams when you just need to get the logic down fast.
Designing a panel is a mix of logic, safety, and craftsmanship. Don't rush it. Build something that you're proud to show off when you open the door.
Frequently Asked Questions
What are the key safety standards for electrical panel design?
Depending on your region, adhering to UL 508A (for North America) or IEC 61439 (for Europe) is critical. These standards dictate precise wire sizing, clearance, and short-circuit current ratings for industrial control panels.
Why are DIN rails standard in industrial electrical enclosures?
DIN rails provide a standardized, modular mounting system. You can securely clip on relays, PLCs, and terminal blocks from different manufacturers side-by-side, making assembly and future maintenance lighting-fast.
What software is best for designing electrical panels?
EPLAN and AutoCAD Electrical are industry standards. They don't just draw lines—they intelligently link schematics to physical 3D cabinet layouts and automatically generate highly accurate Bill of Materials (BOMs).
What is the difference between high voltage and low voltage wiring in a control panel?
High voltage wiring (e.g., 230V or 415V AC) powers heavy loads like motors and heaters. Low voltage wiring (e.g., 24V DC) carries control signals, logic, and sensor data. They must be kept physically separated to prevent electromagnetic noise.
What is a terminal block and why use them in panel design?
Terminal blocks are modular, insulated blocks that secure and organize electrical connections. They allow easy, safe distribution of power and signals, making troubleshooting and component replacement much simpler than direct splicing.